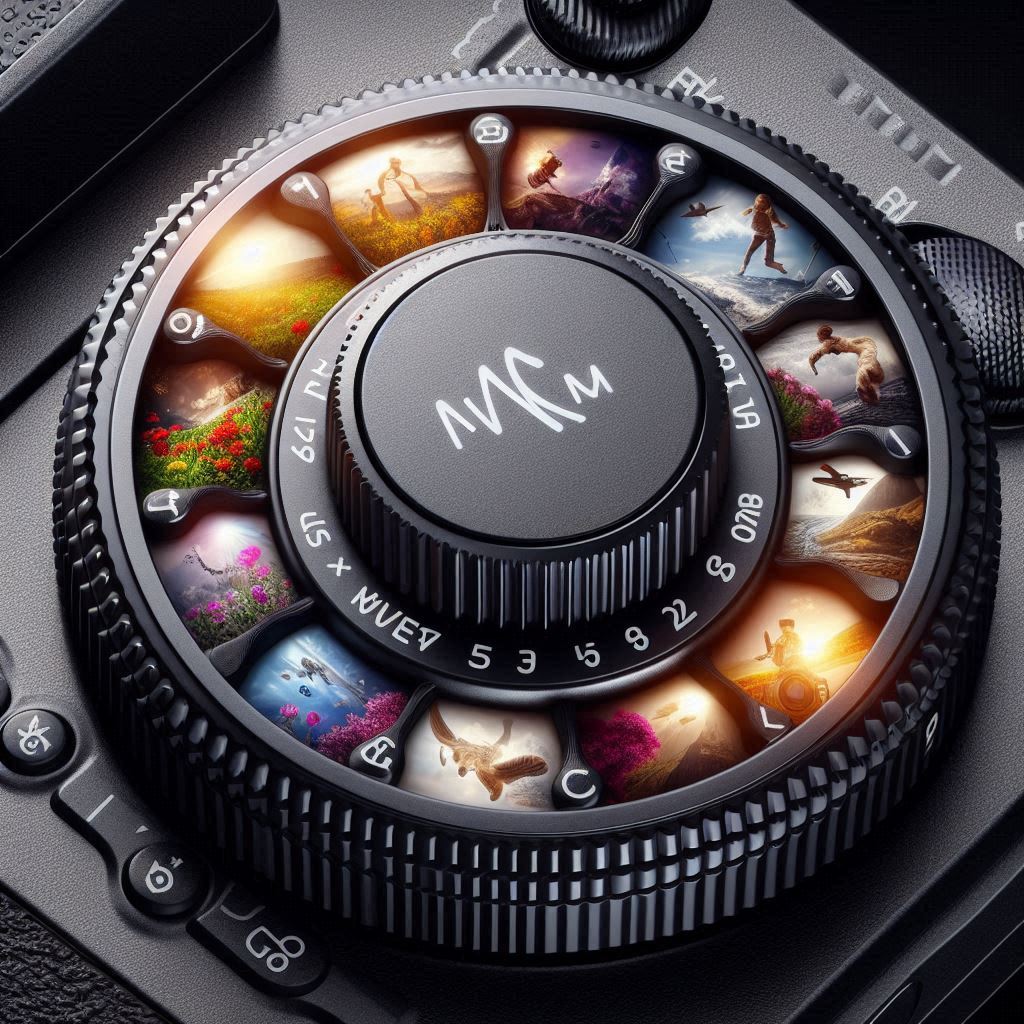
So, you’ve got your hands on a new camera and are eager to unlock its full potential. One of the most powerful tools is the mode dial – a gateway to a world of creative possibilities. Understanding and mastering the various camera modes allows you to take your photography game to new heights and capture stunning images in any situation.
In this blog, we’ll delve into the intricacies of each camera mode, unveiling their unique capabilities and offering practical insights on how to leverage them effectively. From the convenience of fully automatic shooting to the creative freedom of manual control, we’ll explore each mode’s features, benefits, and ideal use cases. Additionally, we’ll provide tips on navigating the mode dial and making the most of custom settings for a seamless transition between different shooting scenarios.
Whether you’re a photography enthusiast looking to elevate your skills or a novice seeking to grasp the essentials of camera modes, this blog is your go-to resource for unravelling the mysteries behind the mode dial. Join us on this journey as we empower you to harness the full potential of your camera and capture the perfect shot every time.
“I always reckon it’s great to have the important info upfront. Check out the table below for a quick rundown of each mode and what it actually does. Use it as a handy reference, and if you’ve got a moment to spare, dive into the details further down.”
| Mode | What it does |
| Auto (A+) | Fully automatic mode where the camera makes all decisions. Ideal for beginners or quick shots. It can adjust focus based on the subject’s movement. |
| Flexible Value (Fv) | Record short clips before each shot and combine them into a digest movie. This is a fun way to document an event in addition to still photos. |
| Program AE (P) | The camera sets the shutter speed and aperture, but these can be overridden. Useful in rapidly changing lighting conditions. |
| Shutter Priority (Tv) | Allows for control over the shutter speed to manage motion blur, while the camera sets the aperture. |
| Aperture Priority (Av) | The user controls the aperture to manage depth of field, and the camera sets the shutter speed. Perfect for landscape or portrait photography. |
| Manual (M) | Provides full control over both the shutter speed and the aperture. Requires a good understanding of photography basics. |
| Bulb (B) | Keeps the shutter open as long as the button is held down, allowing for long exposure shots. Ideal for night scenes or astrophotography. |
| Creative Filters | This feature enables the application of sophisticated effects such as black and white, sepia, or dramatic cool directly from the camera. |
| Special Scene (SCN) | The camera applies optimal settings for specific scenes or subjects. Easy for beginners or those who prefer not to manually adjust settings. |
| Hybrid Auto | Allows control over the shutter speed to manage motion blur while the camera sets the aperture. |
| Custom Modes (C1, C2, C3) | User-defined modes to save preferred settings for quick access. Useful for switching between different shooting conditions or styles quickly. |
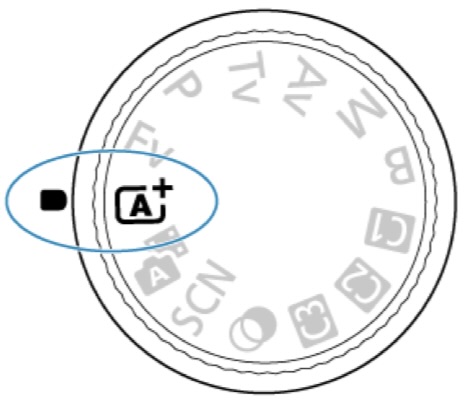
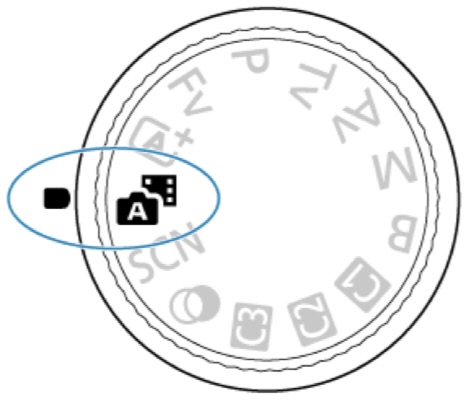
Automatic
The mode is the go-to for fully automatic photography. It’s smart enough to analyse the scene and tweak settings for the best shot. Plus, it’s got a knack for focusing on the right subject, still or in action, by tracking their movement.
Mode shines for beginners or those moments when there’s no time to fiddle with settings. It’s also perfect for capturing subjects on the move and adjusting focus on the fly to keep your shots sharp.
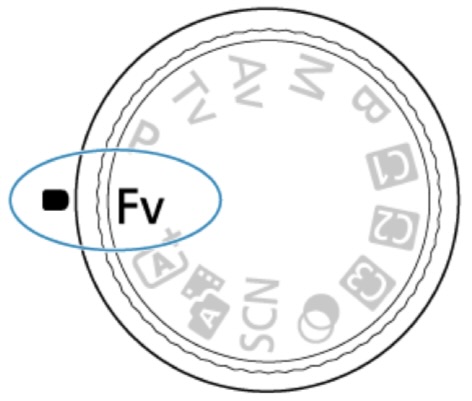
Flexible Value
In this mode, you can set the shutter speed, aperture value, and ISO speed however you like, manually or automatically, and mix and match these settings with your favourite exposure tweak. When you shoot in <Fv> mode, you get to control each of these settings, which is like shooting in all four modes of <P>, <Tv>, <Av>, and <M> at the same time. Oh, and by the way, <Fv> stands for Flexible value.
The Flexible Value (Fv) mode is perfect when you want lots of control over your camera settings but still want the ease of automatic adjustments. With this mode, you can adjust the shutter speed, aperture value, and ISO speed, either manually or automatically, and combine these settings with your preferred exposure compensation. It’s like shooting in Program (P), Time Value (Tv), Aperture Priority (Av), and Manual (M) modes all at once! It’s great for shooting in different lighting conditions or quickly capturing complex scenes when switching between settings.
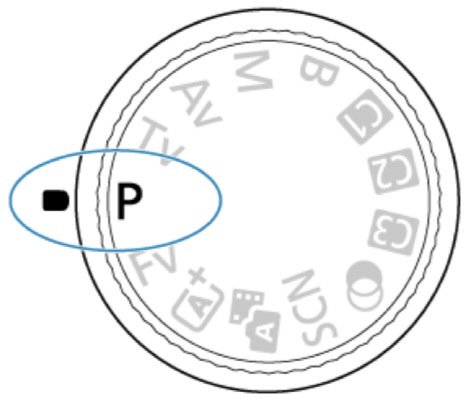
Program
The camera does all the work for you in Program mode (<P>). It’s perfect when you just want to snap a picture without fiddling with the settings. This mode is handy when the light changes or is hard to predict. The camera adjusts the shutter speed and aperture to ensure your shot looks bright.
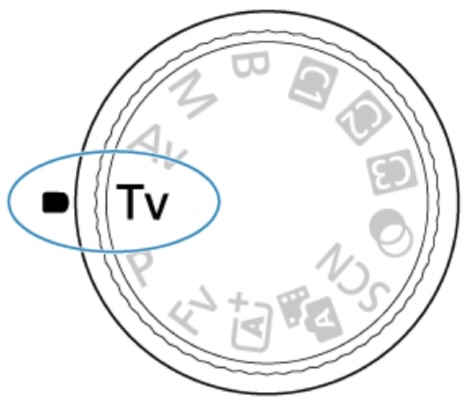
Shutter Priority (Time Value)
In this mode, you set the shutter speed, and the camera automatically sets the aperture to get the right exposure for the subject’s brightness. A faster shutter speed freezes moving action, while a slower one creates a cool blurry effect to show motion. The <Tv> mode is about controlling your shots’ motion effects. For example, if you’re taking pics of something moving and want to freeze the action, just crank up the shutter speed. But if you’re after that smooth motion blur, slow it down. It’s super handy for sports or any moving subjects.
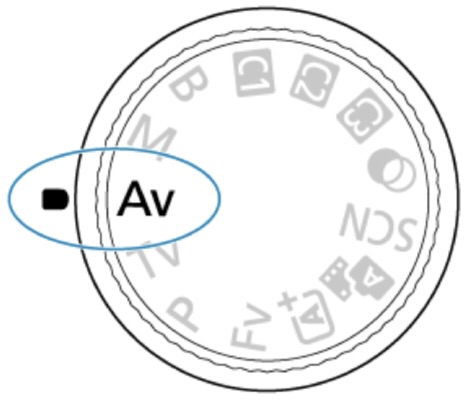
Aperture Priority (Av)
In this mode, you pick the aperture and let the camera handle the shutter speed to get the right exposure. A higher f/ number (smaller aperture hole) keeps more foreground and background in focus, while a lower f/number (larger aperture hole) keeps less focus. The Aperture Priority mode, called <Av>, is great when you want to control how much of the scene is sharp. With a higher f/number, you’ll get a clear foreground and background, perfect for landscapes or group shots. But if you go for a lower f/number, you’ll get a blurred background, which works well for portraits or close-ups where you want the subject to stand out.
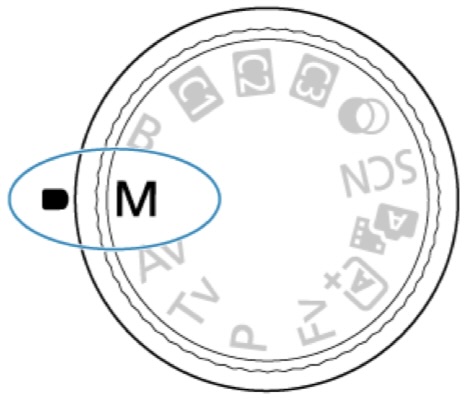
Manual
In this mode, you’re the boss! You get to set the shutter speed and aperture value just as you want. To determine the exposure, peek at the exposure level indicator or use a snazzy exposure meter that you can buy. The <M> on your camera stands for Manual.
The Manual mode, marked as <M>, is perfect when you want total control over your camera settings. It lets you set the shutter speed and aperture value exactly as you like, giving you complete creative freedom. It’s great when you want to achieve a specific effect or when the lighting conditions are tricky. But it’s important to understand how shutter speed and aperture can affect the final image. Manual mode is usually the go-to for professional photographers or folks who know their stuff regarding photography basics.
Bulb
In this mode, you hold down the shutter button for as long as you want the exposure to last, and it closes when you let go. Bulb exposures are perfect for night scenes, fireworks, astrophotography, and anything that needs a long exposure.
You gotta use the bulb mode when you want a long exposure. It’s perfect for those low-light moments like night scenes or astrophotography. Plus, it’s awesome for capturing light in motion, like streaking vehicle lights, fireworks, or giving flowing water that smooth, silky look. Oh, and don’t forget, due to the long exposure times, you’ll need a solid tripod to keep the camera steady and the images sharp.

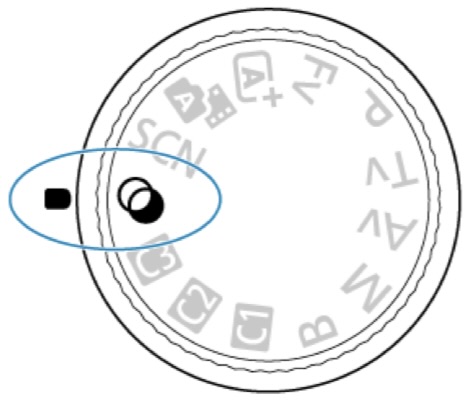
Creative Filters
You can totally snap pics with filter effects on. These are filters you can check out before taking the shot.
When you’re in creative filter mode, you can give your photos an artsy vibe without having to edit them afterwards. This mode lets you apply cool effects like black and white, sepia, or dramatic cool, right from the camera. It’s great for making unique, eye-catching images or setting a specific mood. Being able to see the effect before taking the photo helps you get just the look you want. It’s perfect for artsy photography, social media posts, or anytime you want to play around with different visual styles.
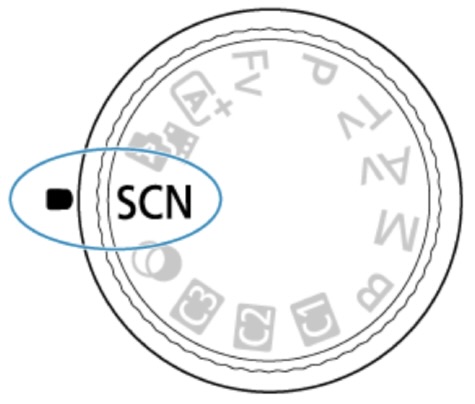
Special Scene
When you pick a shooting mode for your subject or scene, the camera will just do its thing and choose the right settings for you. The Special Scene mode, indicated as <SCN>, is a lifesaver when you want the camera to figure out the best settings for a specific scene or subject. It’s great for taking shots of landscapes, portraits, night scenes, or close-ups, because the camera will do all the work for you. Super handy for newbies or anyone who doesn’t want to fiddle with the settings themselves.
Hybrid Auto
With the <A film> mode, you can easily make a short movie of your day just by taking still photos. The camera captures quick 2–4-second clips of scenes before each shot, and later merges them into a cool movie.
The <A film> mode, also called the Hybrid Auto mode, is perfect for creating a neat short movie or visual diary of your day using still photos. As you snap photos throughout the day, the camera automatically records short clips before each shot. These clips are then combined to create a fun movie. This mode is great for capturing events, trips, or any situation where you want to document a series of moments in a lively video format, alongside your still photos.
C1, C2 & C3
So, you know those C1, C2, and C3 settings on your Canon EOS Mark II? They’re like your own personal modes where you can stash all your favorite camera settings for easy access. You can put in stuff like shutter speed, aperture, ISO, and whatever else you fancy. Basically, they’re a lifesaver when you’re jumping between different shooting situations.
These custom modes are perfect for when you’re constantly changing up your photography game. Say you use C1 for bright outdoor shots, C2 for those dim indoor scenes, and C3 for all the action shots. With these modes, you can seamlessly switch between settings and never miss a perfect moment. Pretty nifty, right? Below is some examples where the custom settings can be configured for you regular photgraphy scenarios.
Example Settings
- C1: Outdoor daylight photography – Shutter speed: 1/125s, Aperture: f/8, ISO: 100
- C2: Indoor low light photography – Shutter speed: 1/60s, Aperture: f/2.8, ISO: 800
- C3: Sports or action photography – Shutter speed: 1/1000s, Aperture: f/5.6, ISO: 400
The blog hopefully has given a rundown of all the cool photography modes you can find in modern cameras. It breaks down how each mode works, like Automatic, Flexible Value, Program, Time Value, Aperture Priority, and others, to help you capture the perfect shots in different situations.
Whether you’re into fully automatic shooting, manual control, creative filter effects, or custom settings, these modes cover all your photography needs. We have even thrown in some example settings for custom modes, showing just how flexible and customisable they are.
In the end, it’s all about getting you as a photographer comfortable with these modes to level up your photography game and get the results that you want.


Leave a Reply